Lesson of the Day 56: Geometric Solids -- Exploring 3D Shapes Through Touch
Published on: April 30, 2026
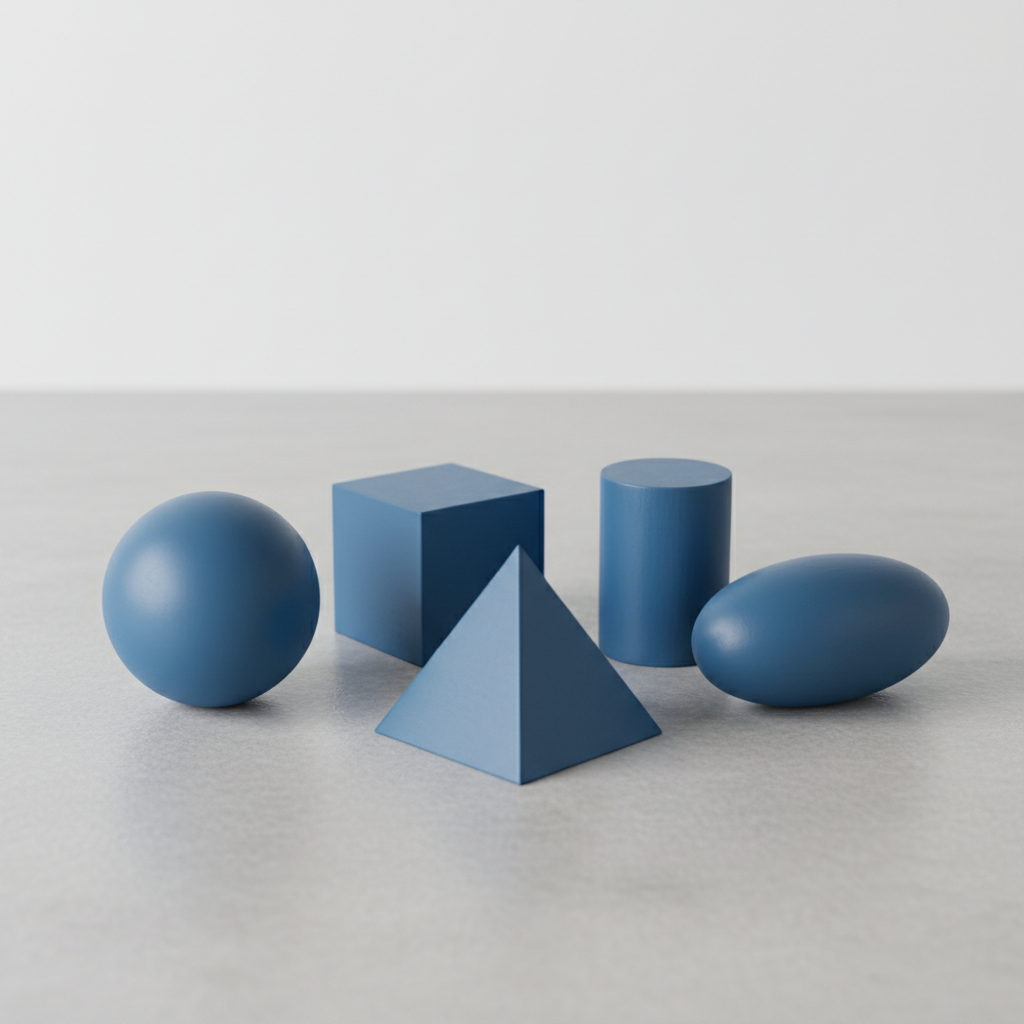
In a Montessori classroom, the Geometric Solids are a set of beautiful blue wooden shapes that invite children to explore the world of three-dimensional geometry through touch. This iconic sensorial material bridges concrete experience and abstract mathematical thinking — children hold, compare, and classify these shapes long before they encounter formal geometry.
What Are the Geometric Solids?
The Geometric Solids are a collection of ten blue-painted wooden shapes:
- Sphere — a perfectly round ball
- Ellipsoid — an egg-like oval shape
- Ovoid — similar to the ellipsoid but with one narrow end
- Cube — six equal square faces
- Rectangular Prism — a box shape with rectangular faces
- Triangular Prism — a shape with triangular ends
- Cylinder — a tube with circular ends
- Cone — a shape tapering to a point
- Pyramid (square base) — four triangular faces meeting at a point
- Triangular Pyramid (Tetrahedron) — four triangular faces
The set also includes wooden bases (stands) for shapes that roll, and a blindfold for the stereognostic extension.
Materials Needed
- Montessori Geometric Solids set — GeoStix Deluxe Geometry Set or a traditional Montessori wooden geometric solids set
- A blindfold or sleep mask (for the stereognostic extension)
- A small basket of everyday objects that match the shapes (ball, egg, box, can, party hat, etc.)
- Geometric Solids control cards (optional, for matching)
Presentation (Ages 3–5)
First Presentation: Introduction
- Invite the child to the lesson. Place three contrasting solids on the mat — for example, the sphere, cube, and cone.
- Pick up the sphere. Roll it gently in your hands, feeling its surface. Say: "This is a sphere."
- Offer it to the child. Let them feel it, roll it, explore it.
- Repeat with the cube: "This is a cube." Let the child feel the flat faces and sharp edges.
- Repeat with the cone: "This is a cone." Draw attention to the point and the circular base.
- Use the Three-Period Lesson to reinforce the names: "Show me the sphere." "What is this?"
Second Presentation: Sorting and Comparing
- Place all ten solids on the mat.
- Invite the child to sort them: "Which ones roll? Which ones don't?"
- Group the solids: those that roll freely (sphere, ellipsoid, ovoid), those that roll and slide (cylinder, cone), and those that only slide (cube, prisms, pyramids).
- Explore together: "What's different about the cube and the rectangular prism?"
Extension: Stereognostic Exercise
- Place three familiar solids in a mystery bag or use a blindfold.
- The child reaches in, feels one solid, and names it without looking.
- This develops the stereognostic sense — recognizing shapes by touch alone.
Extension: Real-World Matching
- Gather everyday objects: a tennis ball (sphere), a soup can (cylinder), a tissue box (rectangular prism), a party hat (cone), a die (cube).
- The child matches each object to its corresponding geometric solid.
- Take a "shape walk" around the house or classroom, identifying 3D shapes in the environment.
Why This Matters
The Geometric Solids help children:
- Develop vocabulary for 3D shapes — sphere, cylinder, prism — that many adults still find unfamiliar
- Refine the stereognostic sense through blindfolded exploration
- Build foundations for geometry — understanding faces, edges, vertices, and how 2D shapes relate to 3D forms
- Connect math to the real world — every building, ball, and can becomes a geometry lesson
Maria Montessori wrote that children who work with the Geometric Solids develop an "educated eye" — they begin to see mathematical structure everywhere they look.
Related Lessons
- Geometric Cabinet — Insets, Cards, and Activities
- The Pink Tower
- The Brown Stair
- Knobless Cylinders
- Cylinders and Solid Insets
- Sensorial Education and Early Math
- Geometry Printouts
The Geometric Solids are one of the most beautiful materials in the Montessori classroom — simple blue shapes that open up the entire world of three-dimensional geometry.