Compass Cardinal Direction
Published on: June 30, 2007
Compass Cardinal Directions: A Montessori Guide for Hands-On Learning
One of the most beautiful things about Montessori education is how it connects children to the real world — and few lessons do this as naturally as learning the cardinal directions. When your child understands North, South, East, and West, they’re not just memorizing vocabulary. They’re building a mental map of their world, developing spatial awareness, and laying the groundwork for meaningful geography study. This topic fits perfectly within the Montessori Great Lessons, where children explore their place in the universe and on our beautiful Earth.
Why Cardinal Directions Matter
Cardinal directions are a foundational concept that touches many areas of learning — science (the sun rises in the East!), history (explorers navigated by compass and stars), and everyday life (giving and following directions). In a Montessori environment, we want children to experience knowledge rather than simply hear about it. Cardinal directions give us a wonderful opportunity to take learning outside, use our bodies, and engage all the senses.
When children learn to orient themselves using a compass, they also develop confidence and independence — two cornerstones of Montessori philosophy. A child who can say, “The park is north of our house,” feels grounded in their environment.
Practical Tips for Teaching Cardinal Directions
- Start with the sun. Go outside in the morning and face the sunrise together. Explain that the sun rises in the East. Stretch your arms out — left hand points North, right hand points South, behind you is West. Repeat for several mornings until it becomes second nature.
- Use the Three Period Lesson. Introduce each direction one or two at a time: “This is North.” “Show me North.” “What direction is this?” This classic technique works beautifully for concrete vocabulary.
- Label your home. Place small cards on the walls indicating N, S, E, and W. Children will begin referencing them naturally throughout the day.
- Play movement games. Call out directions and have your child walk, hop, or skip that way. “Take three giant steps East!” This is especially fun outdoors and gets wiggly kids moving while they learn.
- Incorporate geography printouts to reinforce the lesson at the table. Printable compass roses and labeling activities give children a chance to practice independently.
Introducing the Compass
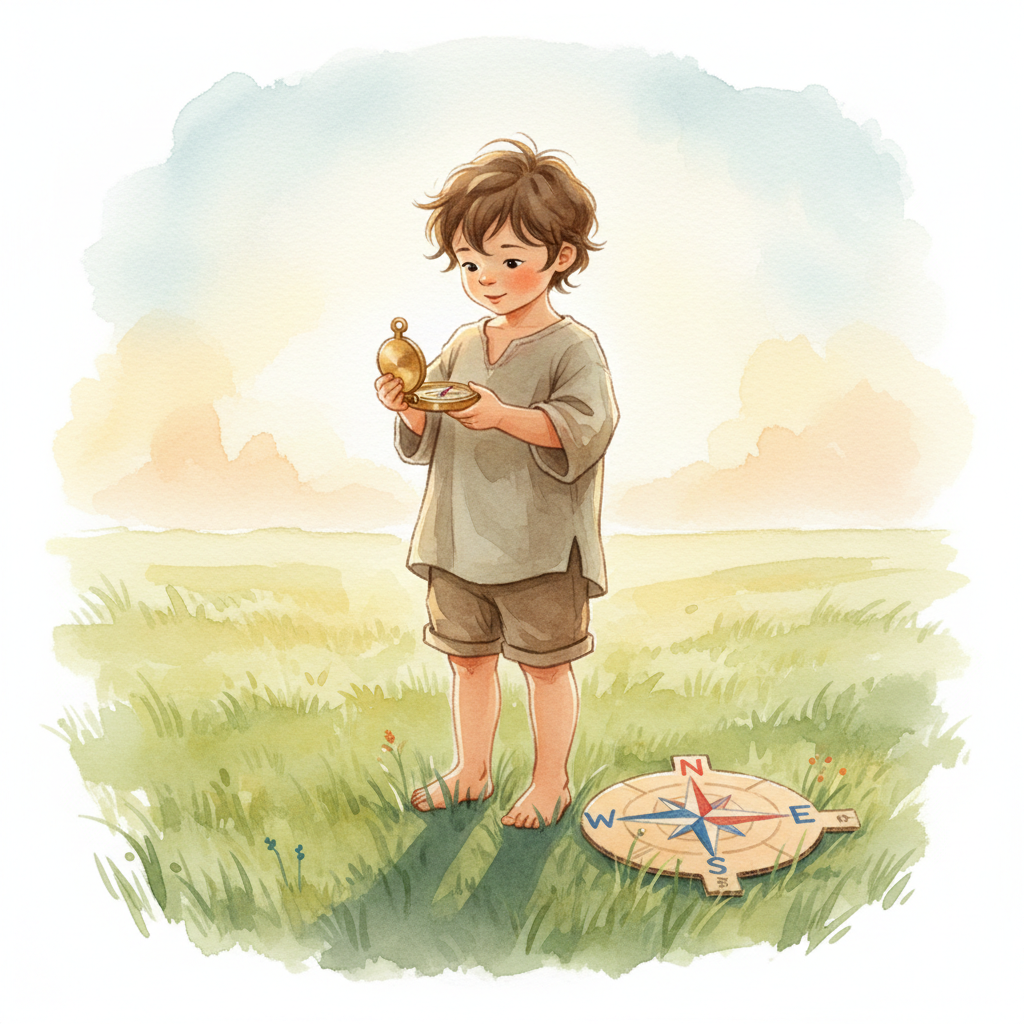
Once your child is comfortable with the four cardinal directions, bring in a real compass. There’s something magical about watching a child realize the needle always points North. I recommend getting a kid-friendly compass sturdy enough for small hands. Let them carry it on nature walks, around the yard, and through the house. Pair this exploration with our Compass Printouts Part 2 for guided activities that deepen understanding.
Compass Rose Craft
A homemade compass rose is a perfect way to solidify this lesson. Here’s a simple activity:
- Cut two large strips of cardstock, about 2 inches wide and 12 inches long.
- Cross them to form a plus sign and glue at the center.
- Have your child label the four points: N, S, E, W.
- Decorate with colors or patterns — traditionally, North gets a special symbol like a fleur-de-lis or star.
- For older children, cut four smaller strips and add the intermediate directions between the main points.
Hang the finished compass rose oriented to true North, and your child will have a reference point they made with their own hands. That sense of ownership is pure Montessori magic.
Extending the Lesson
Once the four cardinal directions feel solid, introduce the intermediate directions: Northeast (NE), Northwest (NW), Southeast (SE), and Southwest (SW). Children who’ve mastered the basics usually pick these up quickly because the logic is built right into the names.
From here, map work opens wide. Explore maps of Earth’s surface together, practicing which direction one country or continent is from another. Try our map skills adventure for a guided lesson tying compass directions to real map reading. You can also bring in land and water cards to connect cardinal directions with physical geography features your child is already studying.
The beautiful thing about this lesson is that it never really ends. Every car ride becomes a chance to ask, “Which direction are we heading?” Every hike is an opportunity to navigate. You’re giving your child a skill that will serve them for life — and having a wonderful time doing it together. Happy exploring, mamas!