Lesson of the Day 9
Published on: May 13, 2010
"The hands are the instruments of man's intelligence." — Maria Montessori
Counting is one of the most exciting milestones in your child's early learning journey — but it doesn't happen all at once! In Montessori, we introduce numbers concretely and gradually, starting with just two objects and building from there. This lesson uses simple household items like jar lids and bottle caps to make counting tangible, and expands into wonderful everyday math concepts like big and small, tall and short, and measuring with blocks. Let's make math hands-on and joyful!
🎒 Materials You'll Need
- Jar and bottle tops/caps — save a variety that range in size from smallest to largest
- Building blocks or bricks — wooden unit blocks work beautifully for measuring and comparing
- Cuisenaire rods or number rods — for extended counting work
- A tray or mat to define the workspace
- A jump rope (for older children's skip counting)
- 👉 Cuisenaire Rods on Amazon
- 👉 BOHS Montessori Bead Stair Set (1-10) on Amazon
🔎 Free Printouts
Use these free printable resources to extend the lesson:
- 📄 Counting 1–10 — Practice counting from one to ten
- 📄 Counting Cards Set 1
- 📄 Counting Cards Set 2
- 📄 Counting Cards Set 3
- 📄 Counting Cards Set 4
- 📄 Counting Chain Arrows — For skip counting with bead chains or other manipulatives
- 📄 Counting Arrows (Blank) — Create your own counting chain labels
- 📄 Block Measuring Printout — A guide for measuring with blocks
🔢 Part 1: Introducing Counting with Bottle Caps
Start with Just Two
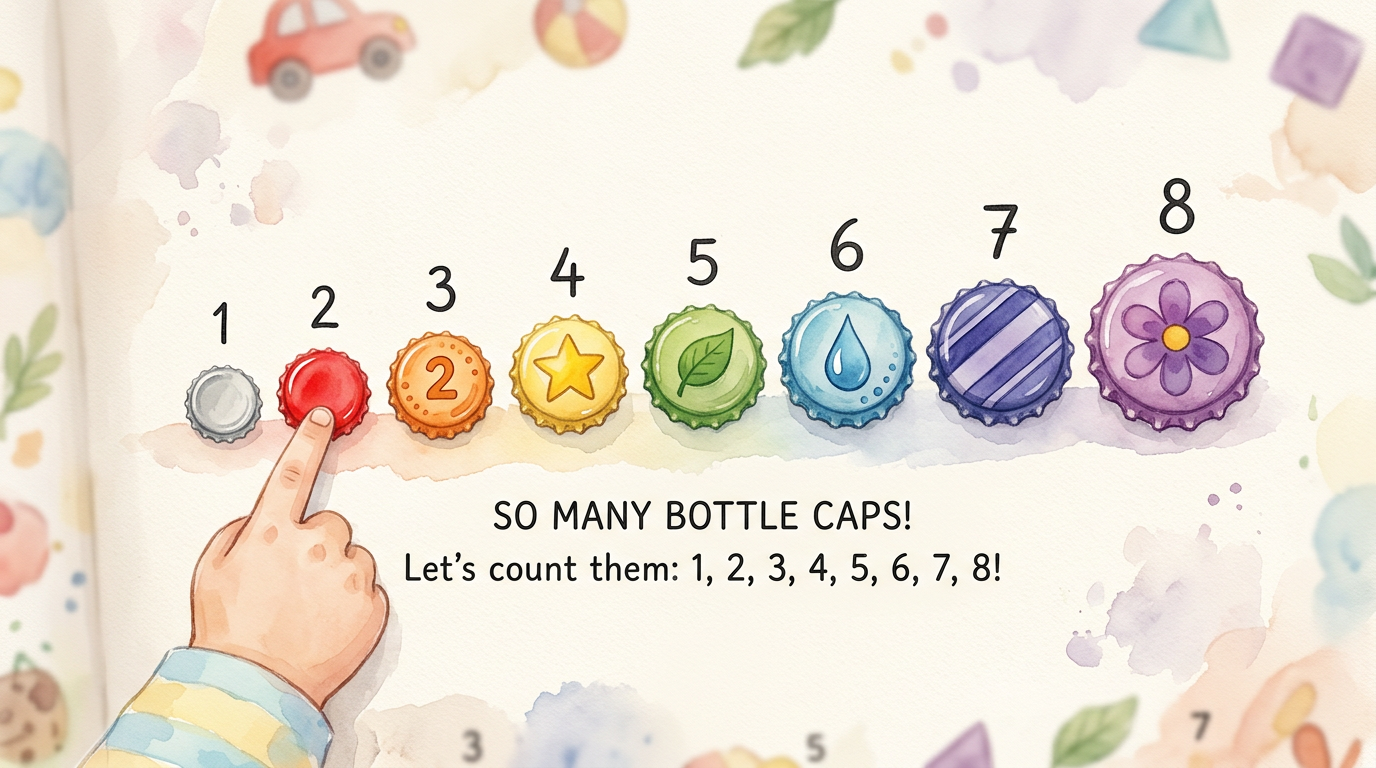
Teaching toddlers to count is a gradual process — don't rush it! Begin with just two objects. Collect jar and bottle tops that vary in size from smallest to largest. This size difference helps a young child see that 1 is smaller than 2, and 2 is smaller than 3, building a concrete understanding of quantity.
The Three-Period Lesson for Counting
Use the three-period lesson to introduce each new number. Here's how it works with your first two caps:
Set up: Place two tops in a row from left to right — the smaller one first, the larger one second.
Period 1 — Naming:
- Point to the smallest top and say clearly, "One."
- Point to the second, larger top and say, "Two."
Period 2 — Recognition:
- Ask your child, "Show me one." Your child points to the smallest top.
- Ask, "Show me two." Your child points to the larger top.
Period 3 — Recall:
- Say, "Let's count them!"
- Touch below each top and count together: "One… two."
- Invite your child to count the tops independently.
When your child is confident with two, add a third cap — slightly larger — and introduce "three." Continue adding tops one at a time until your child can count to ten. There's no rush; follow your child's pace and celebrate each new number!
📏 Part 2: Big & Small, Tall & Short
Exploring Big and Small
Your collection of different-sized lids is perfect for teaching size concepts! Select the largest and smallest caps from your collection. Use the three-period lesson again:
- Period 1: Point to the small cap — "Small." Point to the big cap — "Big."
- Period 2: "Show me small." "Show me big."
- Period 3: Point to each and ask, "What is this?"
Tall and Short with Building Blocks
Use building blocks or bricks to teach the concepts of tall and short. Build a short stack and a tall stack side by side. Follow the same three-period pattern:
- Point to the short stack and say, "Short."
- Point to the tall stack and say, "Tall."
- Have your child identify each, and then ask them to recall the names.
Measuring with Blocks
This is a wonderful extension activity! Invite your child to:
- Build a tower as tall as their knees, then their shoulders, then their head
- Measure the width of a table, a chair, or a book using blocks laid end to end
- Measure how long their foot is using small blocks
This hands-on measuring builds a concrete foundation for understanding units of measurement later on. Children love discovering how many blocks tall they are!
🎵 Part 3: Counting Fun for Every Day
Counting in Daily Life
Look for opportunities to count throughout your day:
- Count going up and down stairs — this is a natural, built-in counting exercise!
- Jump rope counting — count how many skips before a miss. For older children, try skip counting by 2's, 3's, 4's, and beyond.
Counting Fingerplay: 10 Little Fingers
This sweet fingerplay is perfect for toddlers and preschoolers. Hold up your hands and wiggle your fingers as you recite:
🖐️ 10 Little Fingers
I have 10 little fingers that belong to me.
Would you like to see me count them?
1, 2, 3, 4, 5, 6, 7, 8, 9, 10!I can do it again.
Let's begin!
1, 2, 3, 4, 5, 6, 7, 8, 9, 10!The end! 👏
📚 Part 4: Extended Counting Activities for Older Children
As your child grows more confident with numbers, try these extensions:
- Counting chain arrows: If you don't have golden bead material, use other small manipulatives like LEGO bricks to practice counting and skip counting. Use the free counting chain arrow printouts above!
- Number rods: Cuisenaire rods or integer bars work beautifully if you don't have traditional Montessori number rods.
- Multilingual counting: Use your counting printouts to practice counting in French, Spanish, and English — a wonderful cultural extension.
Remember, the beauty of Montessori math is that it starts with the concrete and moves toward the abstract. Every bottle cap counted, every block stacked and measured, is building a strong mathematical mind. Follow your child's interest, keep it joyful, and trust the process. 💛