Lesson of the Day 83: The Pouring Exercises — Building Concentration, Coordination, and Independence One Pour at a Time
Published on: May 19, 2026
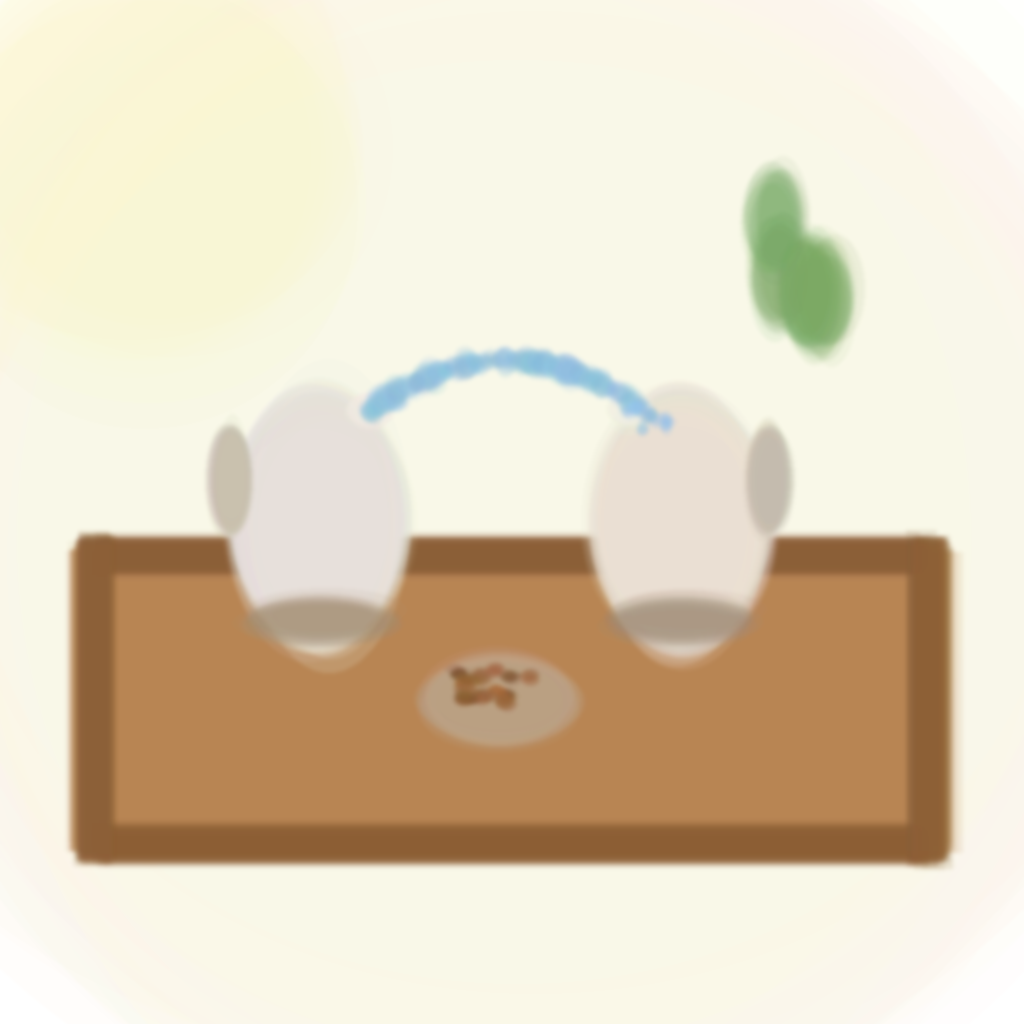
There's something quietly magical about watching a young child pour water from one small pitcher into another. Their brow furrows in concentration, their small hands steady themselves, and drop by drop, they master a skill that most adults take completely for granted. In the Montessori classroom, pouring exercises are among the most beloved and foundational activities in the Practical Life curriculum — and they're wonderfully easy to bring into your home.
Today's lesson explores the pouring exercises in depth: why they matter so much in early childhood development, how to present them to your child, and how to progress from simple dry pouring all the way to pouring with precision and grace. Whether your child is two or five, there is a pouring exercise perfectly suited to their developmental stage.
Why Pouring Exercises Matter in Montessori
At first glance, pouring may seem like a simple, even mundane task. But Maria Montessori understood that these everyday movements are the building blocks of independence and self-confidence. When a child pours their own glass of water at snack time, they don't just quench their thirst — they experience the deep satisfaction of doing something meaningful all by themselves.
Pouring exercises develop several critical skills simultaneously:
- Fine motor control: The muscles of the hand, wrist, and forearm are strengthened and refined with each pour.
- Hand-eye coordination: The child learns to watch the stream of material and adjust their movements accordingly.
- Concentration: Pouring requires sustained focus — a skill that supports all later academic learning.
- Order and sequence: The child internalizes a logical series of steps from beginning to end.
- Independence: Mastering pouring means the child can serve themselves at mealtimes, a tremendous boost to self-esteem.
- Indirect preparation for writing: The control of movement and pincer grip involved in pouring prepare the hand for holding a pencil.
- APLAINR Montessori Practical Life Set : Baby - Amazon.com
- Metal Pitcher Color Options Montessori Practical Life Materi
These exercises connect beautifully to other Practical Life activities and lay the groundwork for more complex tasks like washing and food preparation.
Age Range
Pouring exercises are typically introduced between 2 and 3 years of age, beginning with the simplest dry pouring activities. More advanced exercises — such as pouring water into multiple glasses or pouring through a funnel — can extend through age 5 or 6. Follow your child's interest and ability rather than adhering rigidly to age guidelines. For younger toddlers, you may want to explore Practical Life activities for toddlers and early Practical Life exercises as a starting point.
Materials Needed
One of the joys of pouring exercises is that the materials are simple, affordable, and often already in your home. Here's what you'll need for the progression of exercises:
For Dry Pouring (Beginner)
- A small tray (to define the workspace and contain spills)
- Two identical small pitchers or creamers — child-sized, with handles
- Dry beans, rice, or lentils
- A small brush and dustpan or sponge for cleanup
For Wet Pouring (Intermediate to Advanced)
- A small tray
- Two identical small pitchers — ceramic or glass if possible (real materials teach care and respect)
- Water (add a drop of food coloring so the child can see the water level clearly)
- A small sponge for wiping up spills
- A small towel
For Advanced Variations
- A pitcher and two or three small glasses
- A funnel
- A turkey baster or small ladle
- Pitchers of varying sizes
Whenever possible, use real glass or ceramic vessels rather than plastic. Montessori believed that children rise to meet the trust we place in them, and handling breakable materials teaches care, respect, and natural consequences. If something breaks, it becomes a lesson in cleanup — not a disaster.
Presentation Steps
In Montessori, we present activities through careful, slow demonstration rather than verbal instruction. This allows the child to observe, absorb, and internalize the movements. Here is how to present the basic dry pouring exercise:
- Invite the child: "Would you like me to show you how to pour?" Bring the tray to the table together, carrying it with both hands.
- Sit beside the child (on their dominant side so they have a clear view of your hands).
- Name the activity: "This is the pouring exercise."
- Demonstrate slowly and deliberately. Pick up the pitcher with the beans using your dominant hand, wrapping your fingers around the handle. Place your other hand gently on the side or bottom of the pitcher for support.
- Slowly tilt the pitcher and pour the beans into the empty pitcher. Move smoothly and steadily. Let the child hear the satisfying sound of the beans falling.
- Set the pitcher down gently when all the beans have been transferred.
- Check the tray for any spilled beans. If there are any, use the small brush to sweep them up and place them back in the pitcher. This cleanup step is part of the exercise.
- Pause, then pour back from the second pitcher to the first, repeating the same careful movements.
- Invite the child to try: "Now it's your turn." Step back and let them work independently.
Important: Resist the urge to correct or intervene while the child is working. Spills are expected and welcome — they are learning opportunities, not mistakes. The child will self-correct with practice. This respect for the child's process is at the heart of Montessori philosophy. If you'd like to learn more about how to prepare yourself as your child's guide, read how to prepare to teach your child.
Progression of Pouring Exercises
Once the child has mastered basic dry pouring, you can gradually introduce more challenging variations:
- Dry pouring — pitcher to pitcher (starting exercise)
- Dry pouring — pitcher into two or three containers (introduces division and estimation)
- Water pouring — pitcher to pitcher (the liquid adds a new level of challenge and sensory experience)
- Water pouring — pitcher into glasses (pouring equal amounts requires concentration and judgment)
- Pouring through a funnel (adds a tool and a new element of precision)
- Pouring with a ladle or turkey baster (further refines hand control)
- Pouring from a larger pitcher into a small vessel (requires careful control to avoid overflow)
Each new step should be introduced only when the child shows readiness — that is, when they can complete the previous exercise with relative ease and still show interest. There's no rush. The child who repeats the same pouring exercise twenty times in a row is doing exactly the deep, focused work that builds their mind and character.
Variations and Extensions
- Color mixing: Set out pitchers with water tinted in primary colors (red, yellow, blue) and let the child discover what happens when they pour two colors together into a clear glass.
- Real-life pouring: Invite the child to pour their own water at meals, to help pour batter into muffin tins, or to water plants with a small watering can.
- Pouring with measurement: For older children, introduce measuring cups and let pouring become a math activity — "Can you pour exactly one cup?"
- Seasonal themes: Pour birdseed for an outdoor bird feeder, or pour sand for a sensory activity.
- Connection to other exercises: Pouring naturally leads into spooning, tweezing, and other transfer activities. It also connects to the careful, precise movements found in exercises like the Mystery Bag and the Silence Game.
Tips for Parents
Bringing pouring exercises into your home doesn't require a full Montessori classroom — just a little thoughtful preparation. Here are some tips to set your child up for success:
- Prepare the environment: Set up the pouring tray on a low shelf or table where the child can access it independently. For more guidance, see how to prepare the environment for your child.
- Use child-sized materials: Small hands need small pitchers. A full-sized water pitcher is too heavy and unwieldy for a toddler to manage successfully.
- Expect spills — and welcome them: Keep a sponge and towel nearby. Show your child how to clean up cheerfully, making the cleanup part of the joyful work.
- Slow down your demonstration: What feels painfully slow to an adult is the perfect speed for a young child to absorb. Exaggerate your movements and minimize your words.
- Step back: Once you've demonstrated, let the child work. Resist the urge to hover, fix, or praise excessively. A simple "You poured all the water into the glass" is more meaningful than "Good job!"
- Rotate and refresh: If your child loses interest, put the exercise away for a week and reintroduce it later, perhaps with a new variation.
- Follow the child: If your child wants to pour the beans back and forth fifteen times, let them. This repetition is not boredom — it is deep concentration at work.
Connection to Montessori Philosophy
Pouring exercises beautifully embody several core Montessori principles. They honor the child's need for purposeful, real work — not pretend play, but genuine activity that contributes to daily life. They develop what Montessori called the "intelligent hand" — the connection between hand and mind that is the foundation of all learning.
Perhaps most importantly, pouring exercises teach children that they are capable. Every successful pour, every spill cleaned up, every glass of water served at the family table sends a powerful message: I can do it myself. This sense of competence and self-reliance is the greatest gift we can give our children, and it begins with something as simple as two small pitchers and a handful of beans.
As you explore pouring exercises with your child, remember that you are not just teaching them to pour. You are building their concentration, strengthening their hands for future writing, and nurturing the independence that will serve them for a lifetime. For more ideas on supporting your child's development through purposeful activity, explore our full collection of Practical Life lessons and classroom preparation guides.
Happy pouring!