Lesson of the Day 5
Published on: June 30, 2007
"The hands are the instruments of man's intelligence." — Maria Montessori
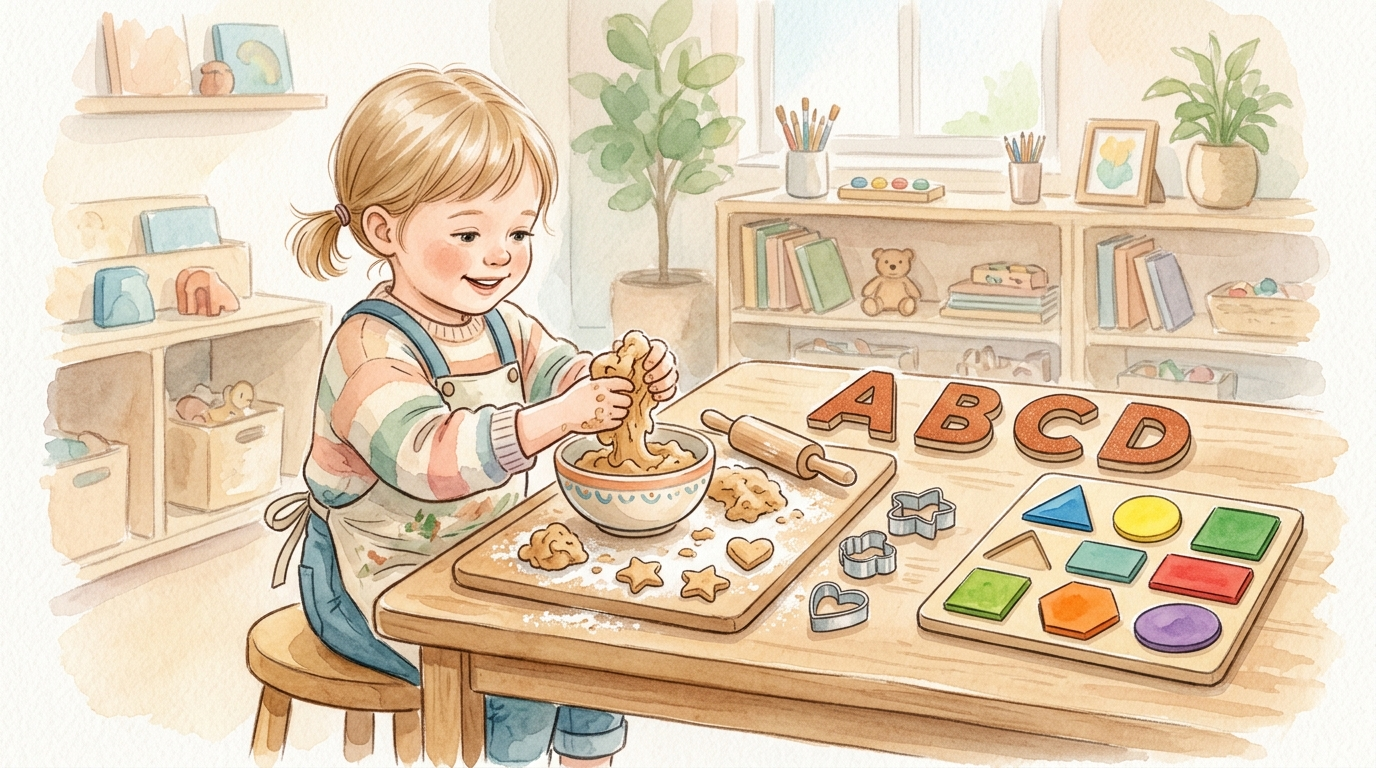
Today's lesson is brought to you by the letter P — as in peanut butter! We'll explore language through a newspaper scavenger hunt, rhyming games, and labeling the world around us. Then we'll head to the kitchen for a sensorial adventure making edible peanut butter playdough and homemade peanut butter. We'll also introduce geometric shapes through the classic Montessori inset puzzles and squeeze in a fascinating pencil-and-friction science experiment. It's a full, hands-on day of learning!
🎒 Materials You'll Need
- Sandpaper letters (or homemade tactile letters) — for letter recognition and the scavenger hunt
- Scissors (child-safe)
- Pages from a newspaper or magazine (large print works best)
- Index cards and a marker for labeling and word cards
- Geometric shape puzzle with knobbed insets (circles, triangles, rectangles)
- Pencil, waxed paper, sandpaper (fine grit), plastic wrap, and different types of paper for the science experiment
- Colored paper and a hole punch (for practical life confetti activity)
- Props for dramatic play: a wig, music, and imagination!
- For Peanut Butter Playdough: peanut butter, corn or rice syrup, dry milk, powdered sugar, crushed cracker or cookie crumbs, raisins, nuts, pretzels, cereal pieces, waxed paper
- For Homemade Peanut Butter: raw peanuts, vegetable oil, salt, food processor or high-powered blender, baking sheet
- 👉 Delmach Sandpaper Letters on Amazon
- 👉 Geometric Shape Puzzles for Kids on Amazon
📰 Part 1: Language — Newspaper Scavenger Hunt
Basic Activity
As your child learns the sandpaper letters, this simple game brings letter recognition to life! Take some large-print pages from a newspaper or magazine. Have your child choose one or two sandpaper letters to work with. Then let them hunt through the pages for matching letters and cut them out with scissors. Your child can then arrange the newspaper letters in a column underneath the corresponding sandpaper letter. It's a wonderful way to connect the tactile letter to the printed world.
Advanced Extensions
- Let your child cut out both lowercase and uppercase letters of the alphabet and sort them.
- Have your child cut out words he or she knows how to read. Put the words together to make a sentence or phrase!
🏷️ Part 2: The Printed Word & Objects
Children who are discovering letters and words absolutely love seeing the printed word placed beside familiar objects. My children adored having their names printed on their bedroom doors! Try printing signs for objects in your child's room — a bed, a lamp, a chair. Let your child choose the object and help you print the word. This simple activity builds a bridge between spoken language and the written word.
🎶 Part 3: Rhyme Time — Silly Poetry & Drama
Making Rhymes
Make up fun and silly rhyming words together! Here's a great word family to start with: pig, big, wig, dig, jig, gig. Then create a poem together:
Here is a pig
Who is big!
He did a jig
With a wig
What a gig!
Can you dig?
Dramatic Play
Have the children act this out! Use simple props like a wig and let them dance a little jig. Young children have wonderful powers of imagination, so simple props will do beautifully.
Advanced Game: Word Cards & Performance
Print each word on an individual card: pig, big, wig, dig, jig, gig. Children who can read hold up their word card whenever it is said during the dramatic play. Have them stand where the audience can see them — it's like a reading performance!
If your children enjoy music, make up a song using the rhyming words and act out your very own musical. Use any favorite tune! Afterward, make a book with the story illustrated with pictures and text.
✏️ Part 4: Introduce the Letter P
Continue introducing the sandpaper letters — p, d, and so on. To motivate your child, teach him or her the letters in his or her own name. Use the hard consonant sounds and short vowel sounds. Remember to use the Three Period Lesson:
- Naming: "This is p." (Trace the letter and say the sound.)
- Recognition: "Show me p."
- Recall: "What is this?"
🥜 Part 5: ABC Cooking — Peanut Butter Playdough
This recipe is a wonderful sensorial experience — it involves taste, smell, touch, and sight all at once!
Peanut Butter Playdough (Edible!)
Combine in a bowl:
- ⅓ cup corn or rice syrup
- ⅓ cup peanut butter
- ½ cup dry milk (dairy, vanilla soy, or rice milk powder)
- ⅓ cup powdered sugar
If it's too sticky, add crushed cracker or cookie crumbs, or wheat germ. Mix well! Cut into pieces and let each child roll and form a shape on waxed paper. Decorate with raisins, nuts, pretzels, and cereal pieces. You can eat your creations right away or chill them for later. 🎉
Homemade Peanut Butter
Sing the peanut butter song as you work: "Pea-nut, peanut butter — jelly! First you take the peanuts and you crush them, crush them…"
- Roast the peanuts: Heat oven to 350°F. Place raw, clean peanuts one layer deep on a baking sheet. Bake 15–20 minutes. Let cool completely.
- Put about 1 cup of roasted peanuts in a food processor or high-powered blender.
- Add about 2 tablespoons vegetable oil.
- Grind until smooth!
- Add salt to taste.
- Enjoy on bread or crackers. 🍞
Extension Activities
- Try using different nuts (almonds, hazelnuts) to make other nut butters. Compare the taste and texture!
- Sensorial Feeling Exercise: Place several different types of nuts (still in their shells) in a bag. Put on a blindfold and sort the nuts by shape using only touch.
🔬 Part 6: Science Time — Pencils & Friction
Materials
- Pencil
- Plastic wrap or waxed paper
- Different types of paper (printer paper, magazine page, newspaper)
- Fine sandpaper
The Experiment
Have your child try to write on a shiny surface like waxed paper with a pencil. Then experiment writing on different materials — a magazine page, newspaper, regular paper, and sandpaper. What happens with each one? Why?
The waxed paper is too smooth, so the pencil's graphite won't rub off. The fine sandpaper provides a rough surface that grabs the graphite — you barely have to press to make a dark mark! This is because the rough surface creates friction when the pencil moves across it. Different surfaces produce different effects. What a great way to discover how friction works!
🔷 Part 7: Introducing Geometric Shapes
You can use shape puzzles with circles, triangles, and rectangles for this activity. If you'd like to extend the lesson, make matching cards: one with a solid shape, a second with a thick outline, and a third with a thin outline.
Presentation
- Place the shape puzzle on a table or a mat on the floor.
- Remove each figure and place it on the table next to its opening.
- Take the first shape. Show your child how to trace around the edge of each shape — and its silhouette socket — with the first two fingers of the dominant hand. Replace the shape in its socket.
- This tracing must be done smoothly and exactly, with good coordination of movement. Hold each figure very still while feeling it.
- Encourage your child to repeat exactly as you demonstrated.
This exercise reinforces differences in shapes through both sight and touch. The knobs on the puzzle pieces help develop pencil grip, and the feel of each shape supports writing readiness. Finally, teach the names of the shapes using the Three Period Lesson.
✂️ Part 8: Practical Life — Confetti Punching
Use colored paper and a hole punch to make confetti! This simple activity builds hand strength, coordination, and concentration — and it's so satisfying for little hands. Save the confetti for an art project or celebration!
🔎 Free Printouts
Use these free printable resources to extend the lesson:
- 📄 Geometric Cards — Circles — Match and identify circle shapes
- 📄 Curved Shapes — Explore curved geometric forms
- 📄 Curved Shapes (Solid) — Solid versions for matching activities
📚 Reading Out Loud Corner
Curl up with your little one and enjoy these wonderful books:
- 📖 The Life and Times of the Peanut by Charles Micucci — Explains how a peanut is grown and made into peanut butter, with beautifully illustrated pictures.
- 📖 A Little Night Music by Charles Micucci — A delightful story about a kitten and a violin, perfect for preschoolers.
- 📖 The Life and Times of the Apple by Charles Micucci — The life cycle and history of the apple, beautifully told and illustrated.
- 📖 The Life and Times of the Honeybee by Charles Micucci — A detailed, wonderfully illustrated look at a bee's life inside and outside the hive.
🥜 Enjoy your peanut-butter-filled day of learning! Remember — the best Montessori moments happen when children are free to explore with their hands and their hearts. 🥜