Lesson of the Day 4
Published on: June 30, 2007
"The child who concentrates is immensely happy." — Maria Montessori
Today's learning and fun is brought to you by the letter D — featuring dinosaurs, ducks, and donuts! This lesson is all about helping your child discover who they are: their name, their body, their home, and their place in the family. We'll also explore life skills like spooning, dressing frames, and threading — plus color mixing, science with water droplets, and delicious cooking projects. Let's dive in!
🎒 Materials You'll Need
- A large piece of paper (as big as your child), crayons, markers, scissors, glue
- Collage materials: yarn, fabric scraps, buttons, ribbon
- Sand or salt in a shallow tray for letter tracing
- Sandpaper letters for tactile letter learning
- Two bowls, dried beans, and a spoon or small scoop
- Dressing frames or old clothing with buttons, zippers, snaps, and laces
- Various small jars and containers with screw-on and snap-on lids
- Tube pasta, food coloring, vinegar, yarn or string for necklace threading
- Eye dropper, glass of water, waxed paper, newspaper
- Red, blue, and yellow tempera paints, brushes or cotton swabs, egg carton or paper
- Graham crackers or flat bread, honey, dried cereal, chocolate chips, raisins for edible art
- Plain donuts, frosting, and sprinkles
- A large cardboard box for "Jack in the Box" play
- Old boxes, matchboxes, spools, and craft supplies for building a house
- 👉 Practical Life Materials Set on Amazon
- 👉 Delmach Sandpaper Letters on Amazon
🔎 Free Printouts
Use these free printable resources to extend the lesson:
- 📄 Bead Stair Printout — For the short bead stair math activity
- 📄 Bead Stair Color Version — Color reference for bead bars
- 📄 Color Nomenclature Cards — Great for the color mixing lesson
- 📄 Color Nomenclature Cards (Spanish)
- 📄 Counting 1–10 — Practice counting and number recognition
🧒 Part 1: I Am Special — Learning About Me
My Name, My Home, My Body
In this lesson, teach your child about where he or she lives — their address, phone number, and full name. Also introduce the parts of the body. Use the three-period lesson approach throughout:
- Introduction: "This is your ___."
- Recognition: "Show me your ___."
- Recall: "What is this?"
Parts of the body to teach: head, eyes, ears, hair, nose, mouth, cheeks, neck, forehead, teeth, tongue, lips, shoulders, stomach, arms, hands, fingers, legs, feet, foot, toes. Use the three-period lesson to introduce any new names your child doesn't know yet.
Advanced Lesson: Family Tree Scrapbook
Create a family tree scrapbook with your child. Let your child record a small history — when he or she was born, parents' and siblings' names, grandparents' names, favorite color, food, hobby, best friend, favorite toy, and any other information important to your child. Encourage your child to draw pictures for the book: their house, friends, family, or a self-portrait.
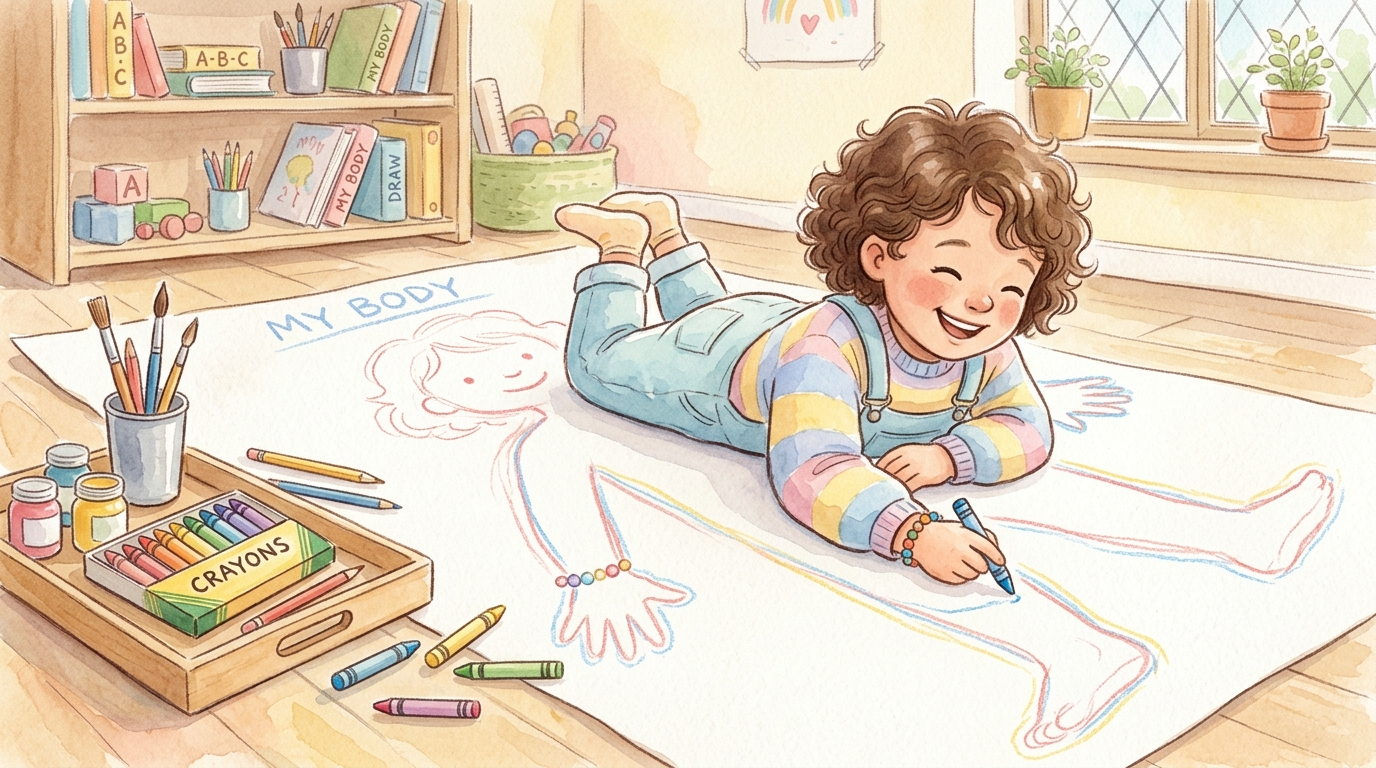
🎨 Part 2: Tracing Me — Life-Size Self-Portrait
Materials: A piece of paper as large as your child, crayons, collage material (fabric, yarn, buttons), a marker pen, scissors, and glue.
Have your child lay down on the big piece of paper. Trace around him or her with the marker. Then have your child cut out his or her shape. Your child can draw in features such as eyes, nose, mouth, fingers — whatever your child thinks of. Use yarn for hair and collage material or colored paper for clothing and shoes. This is a wonderful, personal art project!
🎶 Part 3: Songs & Games for Body Parts
Head, Shoulders, Knees and Toes
Sing or chant together, pointing to each body part with both hands:
"Head, shoulders, knees and toes, knees and toes,
Head, shoulders, knees and toes, knees and toes,
And eyes and ears and nose and mouth,
Head, shoulders, knees and toes, knees and toes!"
The tune is like a lively polka — you can sing it or simply give the commands. Start slow and speed up for extra giggles!
Simon Says
Make this command game easy to begin with and more difficult as your child catches on. For example: "Simon says put your finger on your nose," "Wiggle your toes," "Clap your hands," "Clap your feet" (the sillier the better!), "Stand on one foot," etc.
You can teach positional concepts such as beside, next to, in, out, on top, underneath with this game. As your child progresses, use it as a listening game — don't say "Simon Says" every few commands. If Simon doesn't say it, you don't do the command!
Jack in the Box — Creative Play
This teaches the concept of in and out. Use a large cardboard box and have your child get in and curl into a ball. Say this fingerplay as your child "acts out" the words:
"I am Jack in the box, all curled up inside.
Do you want me to come out and not hide?
Count to three and out I'll jump!
One, two, three —
I am out of the box!"
Your child pops up on "three" — expect lots of laughter and repeated requests!
Hokey Pokey — Teaching Left and Right
This is especially fun with a group of children standing in a circle. Follow the directions in the lyrics:
"You put your left hand in, you put your left hand out,
You put your left hand in and you shake it all about.
You do the Hokey Pokey and you turn yourself about —
And that's what it's all about!"
Continue with: right hand, left arm, right arm, right elbow, left elbow, right thumb, left thumb, right foot, left foot, left leg, right leg, whole self, head, etc. Let the children think of ideas — this game can become very silly and fun!
🏠 Part 4: Art — Build a Box House
Make a box house and put your address on it!
Materials: Old boxes (cereal, shoe boxes, etc.), matchboxes, popsicle sticks, old spools of thread, buttons, caps, small margarine tubs, egg cartons, cupcake liners, toothpicks, etc.
Keep one side of the house open so your child can play in the rooms and make furniture. Stack small matchboxes together to make dressers, use small boxes for beds, old spools of thread for chairs, a small round container for a table, and so on. Your child's imagination will do the rest!
Variation — House Plan: Draw a floor plan of your home on tagboard or cardboard. Let your child help identify each room.
🧵 Part 5: Advanced Art — Loom Weaving (In and Out)
Materials: A small box, glue, scissors, plastic knife, tape, yarn, ribbons, fabric cut into ½-inch strips, old shoelaces, thick rubber bands or heavy string.
Method:
- Cut V-shaped notches along both ends of the box.
- Stretch rubber bands into the notches. (Instead of rubber bands, you can use string securely tied and taped to the bottom of the box.)
- Cut strips of weaving material about 2 inches longer than the width of the box.
- Tape the end of each strip before weaving to prevent it from pulling out.
- Weave the strips up and down across the rubber bands.
- After a few rows, press the woven strands tight with a plastic knife.
- Continue weaving until finished.
- Gather the loose strands into small bunches and tie them twice — the ends of the rug will have fringes!
✋ Part 6: Life Skills
Pasta Necklace — Sequencing & Fine Motor Skills
This sequencing lesson is wonderful for reading and math readiness!
Materials: Various tube pasta, food coloring (assorted colors), vinegar, a bowl, yarn or string.
Method: Mix about 10 pieces of pasta into a mixture of 1 tablespoon of vinegar and several drops of food coloring. Mix well to make a consistent color. Dry on a paper towel. Prepare several colors.
Let your child string a sequence of colored pasta — such as red, plain, green, red, plain, green — or two red, two plain, two green. If this is too difficult, simply let your child string the pasta freely to practice fine motor skills and eye-hand coordination.
Variation: Use Cheerios, Fruit Loops, or any dry cereal with a hole in the middle. To make the lesson a math and reading readiness skill, string the necklace in a certain pattern — one red Fruit Loop, one Cheerio, etc. Start with a simple pattern. When the project is finished, they can eat or wear the necklace!
Spooning Beans
Materials: 2 bowls, a plastic sand shovel/scoop or spoon, dried beans. Place everything on a tray or small area rug.
Method: Slowly put the spoon into the bowl of beans. Carefully dig out beans onto the spoon. Hold for a moment over the bowl, then slowly and carefully move your hand over to the empty bowl. Slowly pour beans into the empty bowl. Continue until the full bowl is empty and the empty bowl is full.
Tip: Instead of a spoon, try a small plastic shovel or scoop to begin with.
Control of error: The child spills the beans.
Variations: Use rice, cereal, sand, salt, or sugar.
Don't worry if your child doesn't repeat every activity — they will pick and choose the ones they love!
Dressing Frames (Ages 2 and Up)
You can make your own dressing frames, or simply use clothing you already have at home. Try an old canvas sneaker to let your child practice lacing and tying — use two different colored shoelaces to teach tying. You can also cut out an old shirt with buttons and mount it onto a dressing frame, along with other fastening devices (snaps, zippers, buckles).
Bottles and Tops
This exercise helps develop independence and coordination.
Materials: Various small empty jars with screw-on lids and plastic containers with snap-on tops.
Method: Slowly show your child how to unscrew the top of the jar — grasp the lid with the thumb on one side and fingers on the other, and turn counter-clockwise. Put the lid down next to the jar. Then pick up the lid, place it carefully on top, and screw it on. Continue with snap-on lids by pulling the top off slowly, then pressing the lid back into place.
Control of error: The tops won't fit on properly.
🔢 Part 7: Math Activities
Short Bead Stair
It's easy to make the beads yourself! You can get heavy wire, needle-nose pliers, and various beads at any craft store. If you're in a hurry, try using plastic beads that snap together (sometimes called "pop beads"). Each bead bar should be a different color.
Number Frames
Materials: Poster board divided into nine squares (2½ × 5 inches) with the number 10 written on each square. Nine additional 2½ × 5 inch squares with numbers 1 through 9. Velcro stick-on circles or squares.
Method: Make a strip of nine squares. Over each "0," place a small Velcro piece. On the back of each number card (1–9), place the corresponding Velcro piece. Your child can overlay each number on top of the "0" to build teen numbers and beyond!
Advanced: Bank Roll Number Line
Purpose: To practice writing numbers in sequential order.
Make squares on paper or use large graph paper with 4 squares across:
- 4th square (far right) = ones place
- 3rd square = tens place
- 2nd square = hundreds place
- 1st square = thousands place
Start with 1 through 9 on the far right side. For 10, put "1" on the 3rd square and "0" on the 4th square, and so on. Calculator paper works great!
It's fun to use strips of paper with just enough room for 1 through 10 to begin. When your child is ready, tape on a new strip and keep going. Watching the number line grow is wonderful motivation! Have your child roll up the paper each day, secure it with a rubber band, and tuck in a pencil. Let your child work on the number line whenever he or she wants to. You can also write in a few numbers as a control for error — for example, after 9, write in 10.
🔬 Part 8: Science Time — Water Droplets
Materials:
- Eye dropper
- Water
- Glass
- Waxed paper or plastic wrap
- Newspaper
Have your child pour water into the glass from a small pitcher or the tap. Show your child how to squeeze the rubber tip of the eye dropper to fill it with water. Slowly have your child squeeze water out of the dropper onto the waxed paper.
What happens? It makes round drops of water! Now put a drop of water on newspaper. What happens? It's a flat drop that soaks into the paper. The type of surface helps determine the shape and movement of water — a wonderful early science discovery!
🎨 Part 9: Art & Science — Color Mixing
Materials: Red, blue, and yellow tempera paints (white tempera to make lighter colors), paper or a Styrofoam egg carton, brushes or cotton swabs.
Method: Have your child take a small amount of paint (yellow) and place it on paper or in an egg cup. Let your child choose a second color (red) and put it on top. Mix well. What color does it make? (Orange!) Continue until you've explored all the combinations.
Basic Color Mixtures:
- Purple — blue + red
- Orange — yellow + red
- Green — yellow + blue
- Brown — red + blue + yellow
- Black — red + blue + green (depends on the base paint)
Advanced Color Mixtures:
- Soft Yellow — white + yellow
- Vibrant Yellow — yellow + a small amount of orange
- Greenish Blue — add a small amount of green or yellow to blue
- Steel Blue — add a small amount of black or orange to blue
- Orange Red — add a small amount of red to orange
- Deep Red — a small amount of blue added to red
Cutting a Circle
Materials: Scissors, pencil and crayons, plain stiff paper, a plate for tracing.
Let your child trace a circle using the plate and then cut it out. Your child can draw lines across the circle with colored pencils or crayons. Then let your child find other circle shapes around the house to trace and cut out!
✏️ Part 10: Introduce the Letter D
If your child already knows the names of the alphabet letters, here's one way to introduce the sounds. Show your child the letter "d" and use the three-period lesson:
- "This is d."
- "Show me d."
- "What letter is this?"
Tell your child what sound "d" makes — the hard "d" sound, like in dog. If your child has difficulty with both the letter name and sound, just introduce the sound first.
Reinforce with a song! Have your child point to the letter and sing to the melody of "Row, Row, Row Your Boat":
"D, d, d, the ding-dong sound,
D makes a ding-dong sound!
D, d, d, d,
D makes a ding-dong sound!"
If this is simple for your child, add other hard "d" words: dinosaur, duck, donut.
Put letters a, b, c, and d together. Ask your child to find each letter, then ask the name of each letter. Lastly, ask your child to say the sound of the letter. Don't worry if you need to go back to the second step ("Show me the 'a' sound letter").
Sand Letters
Put some sand in a square cake pan or box. Help your child trace the lowercase "d" in the sand while saying the sound. Another fun variation: finger-paint with whipped cream on a black garbage bag taped onto a surface outside. Your child will love tracing letters in this new, sensory-rich medium!
👨👩👧 Family Weekend Projects
Dig into the garden and make a butterfly garden complete with homemade pavers! This is a wonderful family activity that connects your child to nature while practicing care of the outdoor environment.
🍩 ABC Cooking
Edible Art You Can Eat
Your child can make a dinosaur, a self-portrait, or just an abstract masterpiece!
You'll need: A full graham cracker rectangle or a piece of flat bread, various dried cereal, chocolate chips, raisins, nuts, candy sprinkles for collage, honey, and a pastry brush or plastic knife.
Use the honey as paste. Let your child spread the honey with a pastry brush or plastic knife, then cover the cracker with the edible collage pieces. Let your child tell you about his or her creation!
Donut Delight
You'll need: Unfrosted plain donuts, frosting, a plastic knife, and toppings (sprinkles, nuts, raisins, coconut, etc.).
Give each child a donut, a plastic knife, a dollop of frosting, and some toppings. Let each child frost the donut and decorate. D is for Donut! Yum!
📚 Reading Aloud Corner
Here are some wonderful books to read aloud this week:
- Dinosaurs by John Cooper
- T-Rex Is Missing! by Tomie De Paola
- ¿Cómo dan las buenas noches los dinosaurios? by Jane Yolen
- The Tale of Jemima Puddle-Duck by Beatrix Potter
- Super-Scrumptious Jelly Donuts Sprinkled with Hugs by Barbara Johnson
- Do Donuts Fall in Winter? by Viki Woodworth
- Duck, Duck, Goose! by Kristen Hall
- We're Going on a Picnic! by Pat Hutchins
- Silly Goose and Dizzy Duck Play Hide and Seek by Sally Grindley
🇪🇸 Spanish Corner
Sandpaper letters can be made for the Spanish alphabet as well. Use the three-period lesson to introduce the letters. This works best when your child is well versed in his or her own native language alphabet and phonetic sounds. Explore Spanish colors alongside English ones using the printable Spanish color nomenclature cards linked above!
Happy learning! Remember — follow your child's interests and don't worry if they don't repeat every activity. They will pick and choose the ones that spark their curiosity, and that's perfectly Montessori. 🌻