Lesson of the Day 105: The Tasting Bottles — Montessori's Sensorial Lesson in the Sense of Taste
Published on: June 22, 2026
📄 Free printable: The Tasting Bottles — Presentation & Sequence Cards (PDF) — a step-by-step presentation guide and the four flavor families, ready to print for home or classroom.
"The senses, being explorers of the world, open the way to knowledge." — Maria Montessori, The Absorbent Mind
Have you ever handed your child a wedge of lemon, expecting a wince, only to watch them suck it down with gleeful determination and reach for more? Or offered a "tiny taste" of something new and seen their whole face reorganize itself around the surprise of it? Children are bold, full-body tasters. The tongue is one of their oldest tools of investigation — before they could hold a spoon, they were learning the world by putting it in their mouths. The Montessori Tasting Bottles take this instinctive, sometimes messy, always enthusiastic exploration and turn it into a calm, conscious lesson in discrimination.
This material completes our little tour of the senses. We've refined the ear with the Montessori Bells, the muscular sense of weight with the Baric Tablets, and just recently we trained the nose with the Smelling Bottles. The Tasting Bottles are the natural companion to that smelling work — in fact, taste and smell are so intertwined that doing them as a pair is one of the most satisfying sensorial experiences you can offer. Now we turn to the gustatory sense: the sense of taste itself.
What I love most about this lesson is how honest it is. There's no pretending here — the child truly tastes, truly reacts, and truly learns to name the four great families of flavor that underpin every meal they'll ever eat.
👅 What Are the Tasting Bottles?
The Tasting Bottles isolate one quality — flavor — by removing every other clue. You prepare a set of identical, opaque droppers or small cups, each holding a solution that represents one of the four classic tastes: sweet (sugar water), salty (salt water), sour (a little lemon juice in water), and bitter (a very weak unsweetened tea or a trace of tonic water). Because the containers look the same, the child cannot rely on sight. The tongue, and only the tongue, must do the work.
As with all sensorial materials, the bottles come in matching pairs. The child tastes, finds the partner with the same flavor, and matches the set. Later they grade — arranging, say, from the faintest sweetness to the strongest, or comparing the sharpness of two sour solutions. It's the same pairing-and-grading logic running through the whole sensorial curriculum, now applied to a sense we almost never train on purpose.
🧺 The Materials
To set this up at home, you'll want:
- Two matching sets of small, identical droppers or cups — eight in all, so each of the four tastes appears twice.
- A way to self-check, such as a tiny color dot under each base, or two sets distinguished by lid color (one red set, one blue set), so a red can be matched to a blue.
- Fresh, clean water and disposable taste sticks, cotton swabs, or a separate spoon for each tasting.
- A tray to define the workspace and a small dish for matched pairs.
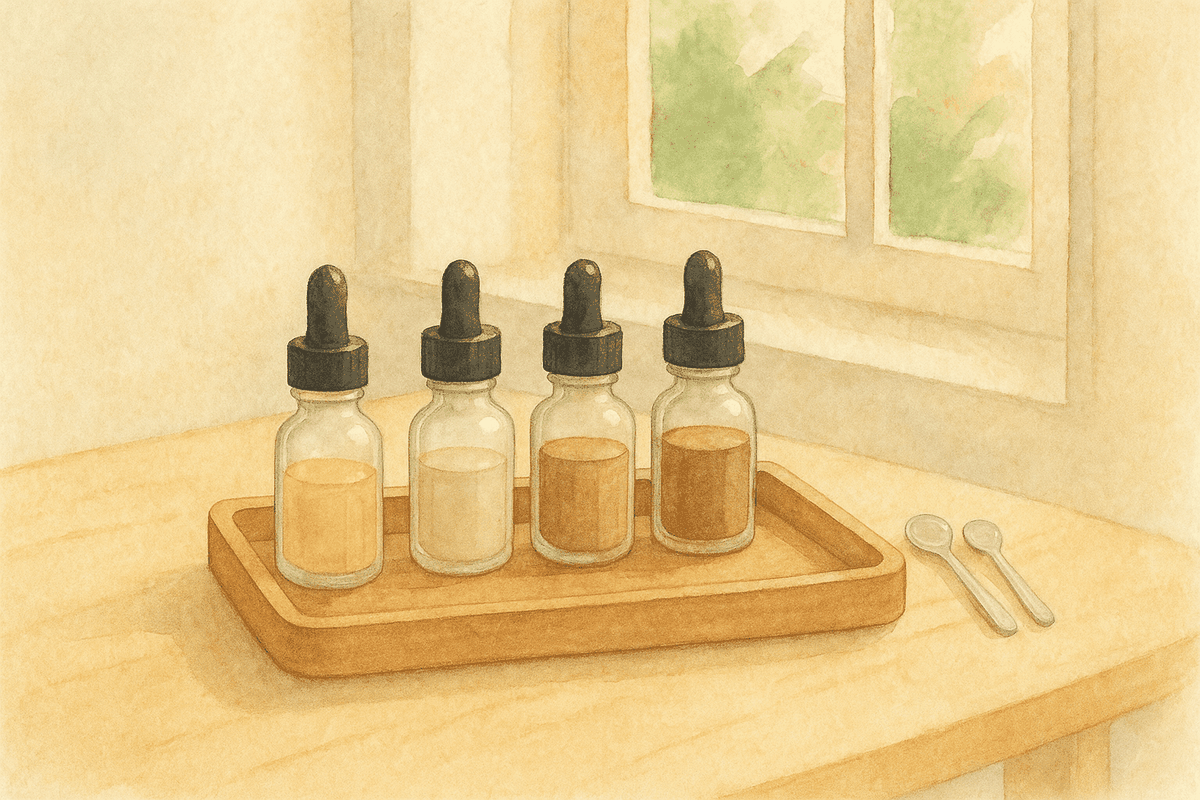
This is a wonderfully DIY-friendly material — your kitchen already holds everything you need. I like to use a set of small frosted-glass dropper bottles for assembling your own tasting bottles, because the frosting hides the contents, the droppers let you place a single clean drop on the child's tongue, and they're easy to wash and refill. Mix your four solutions fresh, label the bases discreetly so you know which is which, and you're ready.
🧼 A Word on Safety and Hygiene
Because this lesson literally goes in the mouth, hygiene matters more here than with any other sensorial material. A few simple rules keep it safe and pleasant:
- Make solutions fresh each session and discard them afterward — sugar and tea solutions spoil quickly.
- One dropper or stick per child, never shared. If you're working with siblings, prepare a separate set for each, or use disposable swabs.
- Keep tastes mild. The goal is gentle discrimination, not a sour-candy challenge — a faint bitterness teaches just as well as an overwhelming one.
- Offer a small cup of plain water to sip between tastes, clearing the palate so each new flavor arrives clean.
- Check for allergies and skip anything questionable. Stick to familiar, food-safe ingredients.
✨ How to Present the Lesson
Move slowly, speak little, and let your hands lead. Sit beside your child on their dominant side so every gesture is easy to see.
- Invite your child: "Would you like me to show you the tasting bottles?" Carry the tray together to a table.
- Separate the bottles into the two color groups — red set on the left, blue set on the right.
- Take one bottle from the left. Place a single drop on a clean stick, then onto the tip of your tongue. Pause. Let your face show calm attention — you're modeling how to taste thoughtfully, not gulp.
- Take a sip of water to clear your palate, then taste a bottle from the right set with a fresh stick. Shake your head gently if it doesn't match, and try another.
- When you find the partner, place the two together with a satisfied nod. "These are the same."
- Continue until all four pairs are matched, then invite: "Now would you like to try?"
At first, resist naming the flavors. The early aim is pure discrimination — noticing same and different. The names come later.
🗣️ The Three-Period Lesson for Taste Vocabulary
Once your child is matching confidently, give language to the experience with the classic three-period lesson:
- Naming: Offer the sweet solution. "This is sweet." Then salty: "This is salty." Keep it slow and uncluttered, just one taste and one word at a time.
- Recognizing: "Can you find the sour one? Can you taste the bitter one?" This is where children linger happily, tasting and choosing.
- Recalling: Offer a taste and ask, "What is this one?" Only move here once recognition is secure.
These four words — sweet, salty, sour, bitter — are a gift. They give your child a precise vocabulary for the meals on their plate and the cooking happening in your kitchen.
🔍 Control of Error
The control of error lives in the matching pairs themselves. When a child pairs a "red" bottle with its "blue" partner, they can flip both to check the hidden color dot or label underneath. If the dots match, the tastes match — the material confirms success without a word from you. This quiet self-correction is the heart of Montessori: the child becomes their own teacher, building confidence with every independent discovery.
🌱 Extensions and Variations
Once the basic work is mastered, there are lovely places to go:
- Pair with the Smelling Bottles. Have your child hold their nose while tasting, then release it — a delightful demonstration of how much "taste" is really smell.
- Grade by intensity. Prepare three strengths of sweet or sour and ask your child to arrange them from faintest to strongest.
- Blindfold the work. An older child often loves a blindfold (or simply closing their eyes), which sharpens focus and adds a dash of challenge.
- Bring it to the kitchen. Taste real foods and sort them: lemon and yogurt for sour, pretzels for salty, honey for sweet, dark cocoa or grapefruit for bitter. The lesson comes alive at the table.
📅 The Right Age
The Tasting Bottles suit children roughly three to six years old. Around three, most children enjoy the simple matching; by four or five, the vocabulary and grading become genuinely fascinating. As always, follow your child — if they're not yet interested, set it aside and return in a few weeks. The senses ripen on their own schedule, and your patient, unhurried invitation is the most important ingredient of all.
Of all the sensorial materials, this is the one that lands most directly in daily life. Every meal becomes a quiet review, every new food a small experiment. You're not just refining a sense — you're handing your child the words to describe the deliciousness of the world.